Baking | Blog Post | Fermented Foods | Pantry Staples | Recipes | Sourdough
How to Make a Sourdough Starter From Scratch
Step-by-step instructions to teach you how to make your own homemade sourdough starter using simple ingredients.
Instructions for Sourdough Starter Recipe
INGREDIENTS:
- 100 grams (3/4 cup) whole wheat or whole-grain flour
- 100 grams (3/4 cup) all-purpose flour
- 200 grams (3/4 cup + 1 tablespoon) filtered water (We use our Berkey Water Filter) Tap water will not work here
- A clean glass jar (at least 1-quart capacity)
- A kitchen towel or plastic wrap
- A rubber band or jar ring
TOOLS
Glass bowl (Metal can react with beneficial bacteria and yeasts.)
Wooden spoon (Again, no metal!)
Tea towel
Kitchen scale
Glass wide-mouth jar
DIRECTIONS: make your own sourdough starter
Step 1: Day 1 – Mixing the New Starter
- In a clean jar, combine 100 grams of whole wheat flour and 100 grams of all-purpose flour.
- Add 200 grams of filtered water to the flour and mix well using a clean spoon or your hands until there are no dry pockets of flour left.
- Scrape down the sides of the jar, ensuring all the flour is incorporated.
- Cover the jar with a kitchen towel or plastic wrap and secure it with a rubber band or jar ring.

Step 2: Day 2 – First Feeding
- Check the starter for any signs of activity. It may appear unchanged or slightly bubbly.
- Discard approximately half of the starter (about 100 grams) by pouring it out or using it in another recipe.
- Add 100 grams of all-purpose flour and 100 grams of filtered water to the remaining starter in the jar.
- Mix well until fully combined, scraping down the sides of the jar.
- Cover and secure the jar again.
Step 3: Day 3 – Second Feeding
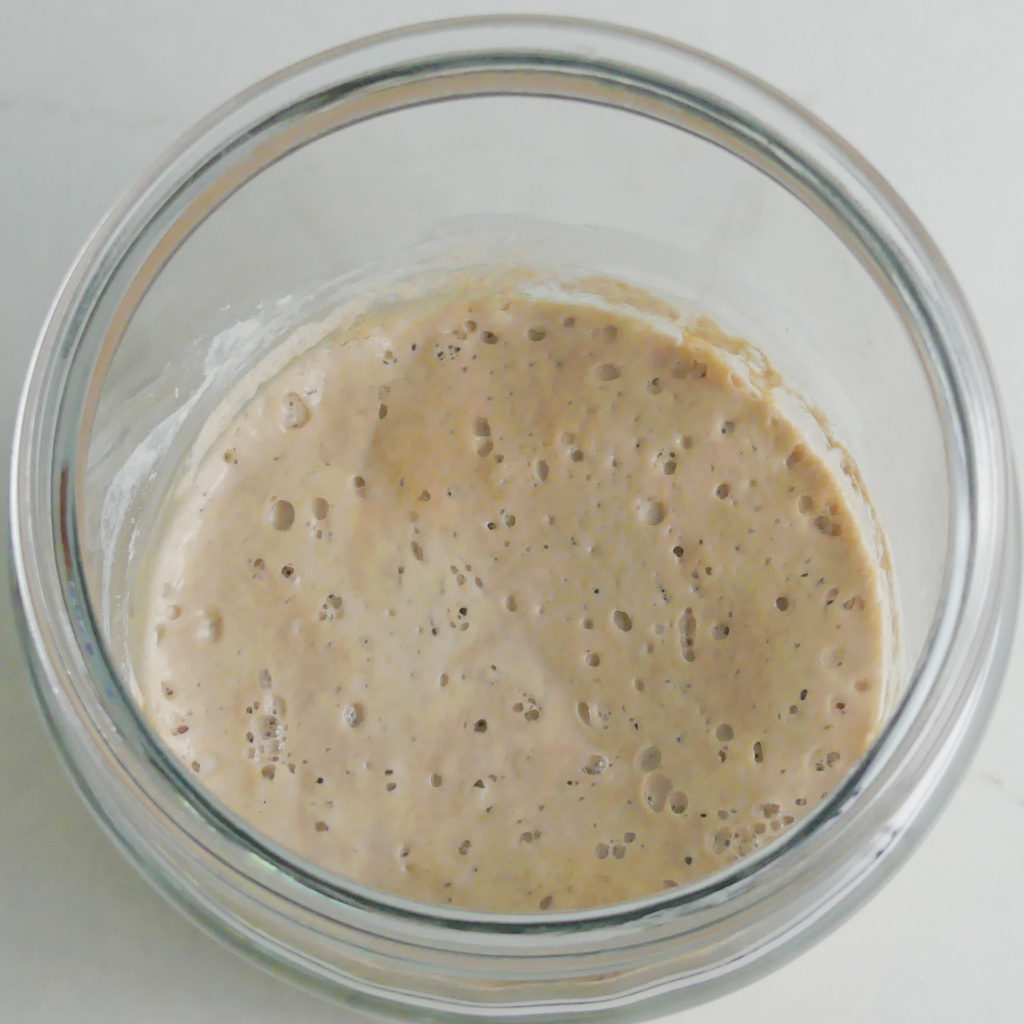
- By now, you should start seeing some signs of life. The starter may show small bubbles and have a slightly sour aroma. But if not, don’t fret! I have read that sometimes people don’t see bubbles until the following week.
- Discard half of the starter as before (around 100 grams).
- Add 100 grams of all-purpose flour and 100 grams of filtered water to the jar.
- Mix thoroughly until well combined.
- Cover and secure the jar.

Step 4: Day 4 – Regular Feedings Begin
- Repeat the process of discarding half of the starter and adding 100 grams of all-purpose flour and 100 grams of filtered water.
- Mix well and cover the jar.
- Perform this feeding routine every 24 hours, discarding and refreshing your starter with fresh flour and water.

Step 5: Maintaining Your Starter
- Your starter will gradually become more active and develop a stronger aroma over time.
- To maintain your active sourdough starter, continue discarding and feeding it every 24 hours, as described in Step 4. It’s a fairly simple process that takes less than 5 minutes per day. When trying to build up your starter for recipes that use more you can feed it 1 cup flour and 1 cup water in one feeding.
- Sourdough starter can be so much more than homemade bread. You can even use the discard in recipes. If you find that the amount of discarded starter is becoming wasteful, consider saving it to use in other recipes like pancakes, waffles, or even pizza dough.
I have a printable guide that shows how to feed and store your starter. I keep mine on my fridge for easy reference. If you’d like one you can print it here:
How to Maintain a Sourdough Starter
How to MAINTAIN a SOURDOUGH STARTER FREE PRINTABLE 2-page guide.
Daily Feeding For a Sourdough Starter
Tips for Success:
- Use a glass jar for your starter to monitor its progress easily.
- Maintain a consistent feeding schedule to keep your starter active.
- If your starter shows signs of slowing down or smelling unpleasant, try adjusting the feeding ratio (more flour or water) or changing the type of flour used.
- Room temperature affects the fermentation process. Warmer temperatures accelerate activity, while cooler temperatures slow it down.
- Be patient! It can take anywhere from 7 to 14 days for your starter to become fully active and ready to use.