
How to Paint Hardwood Floors | Our Inexpensive Bedroom Renovation
How we refinished and renovated our walls, closet, and old hardwood floors in our master bedroom.

This post may contain affiliate links. Indigo Spring Home earns a small commission on these links at no cost to you.
Painting The Walls
The color we chose to paint the walls was Sherwin Williams’ Toasted Oatmeal. We have used this color throughout our home and we love it! It’s somewhere between ivory and a very light, warm tan. It complimented the molding and gave the room a light and airy feel.
For the lower trim and ceilings, we used white semi-gloss paint. I like to use semi-gloss because it’s so easy to clean. We decided to stain the window trim and the closet doors to add some warmth to the room.

Why paint hardwood floors?
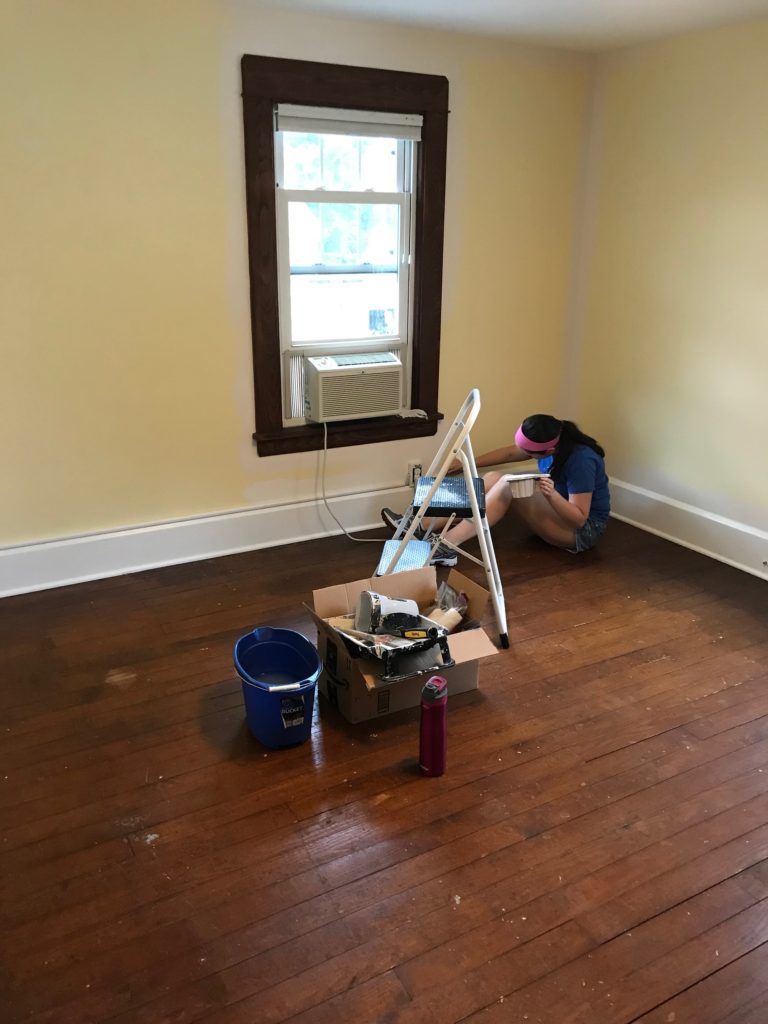
The floors in the upstairs of our house had seen better days. The finish was stained, the cracks between the boards were pretty big, and the wood was never really that great in the first place. It is a thin pine flooring that we couldn’t sand and refinish. We were told if we sanded down the floors, it might make them so thin that it would cause other problems. (creaking, buckling, etc.)

It was not in our budget to replace the flooring this year, so we decided to take another approach. Paint! It’s cheap and it can totally transform a room. I’m so glad we made this decision! I just love the cottage feel it gave to the room.
For The Wood Floor:
We lightly sanded our floor with medium-grit sandpaper, then cleaned them really well with a TSP solution. We followed the instructions on the box and then allowed the floors to fully dry.
Place exhaust fans in windows to establish a well-ventilated room.
Next, we rolled on a gripping primer like this.
Brush on the primer, working from the wall side out to the center of the room. Our tile was nicely primed with one coat.


Once that was completely dry (we waited 24 hours) we used Sherwin Williams’ Silver Feather to paint the floors. Again working from the walls to the center of the room. (Just remember to leave a path to the door so you can get out!) It took about 2 coats to completely cover. For the final step, to make the floors more durable we coated them with a clear poly coat like this. After applying we let this dry for about 48 hours before we moved any furniture back into the room.
We are so happy with the results. The room looks so finished and bright now, and we did it all on a very small budget!
The Closet
The original closet was very small and not very functional. So we had a handyman open up the closet from the bedroom next door, put in drywall to close that door off and open up the doorway to the master closet. He also built custom shelves and added several hanging bars.
Unfortunately, I never took a photo of the original closet (we renovated this long before I thought of having a blog.)
But here’s a progress photo of when it was being built:


The Light Fixtures
We wanted our bedroom to be cozy, and warm…
On either side of our bed, we hung silver ÅRSTID lamps from Ikea. To hide the cord we attached cord channels like this:
We bought the rug on Amazon and we love it! Here’s a link if you’re interested:
The Finished Master Bedroom
And here it is! The finished product after photos!

I have fallen in love with this room! It quickly became my favorite room in the house. A little clean and quiet sanctuary in the mist of life’s chaos. I’m so happy with the decisions we made, and I hope it inspired you if you are thinking of an inexpensive bedroom transformation.
PIN IT FOR LATER
