
Delicious Roasted Butternut Squash | Simple Side Dish Recipe
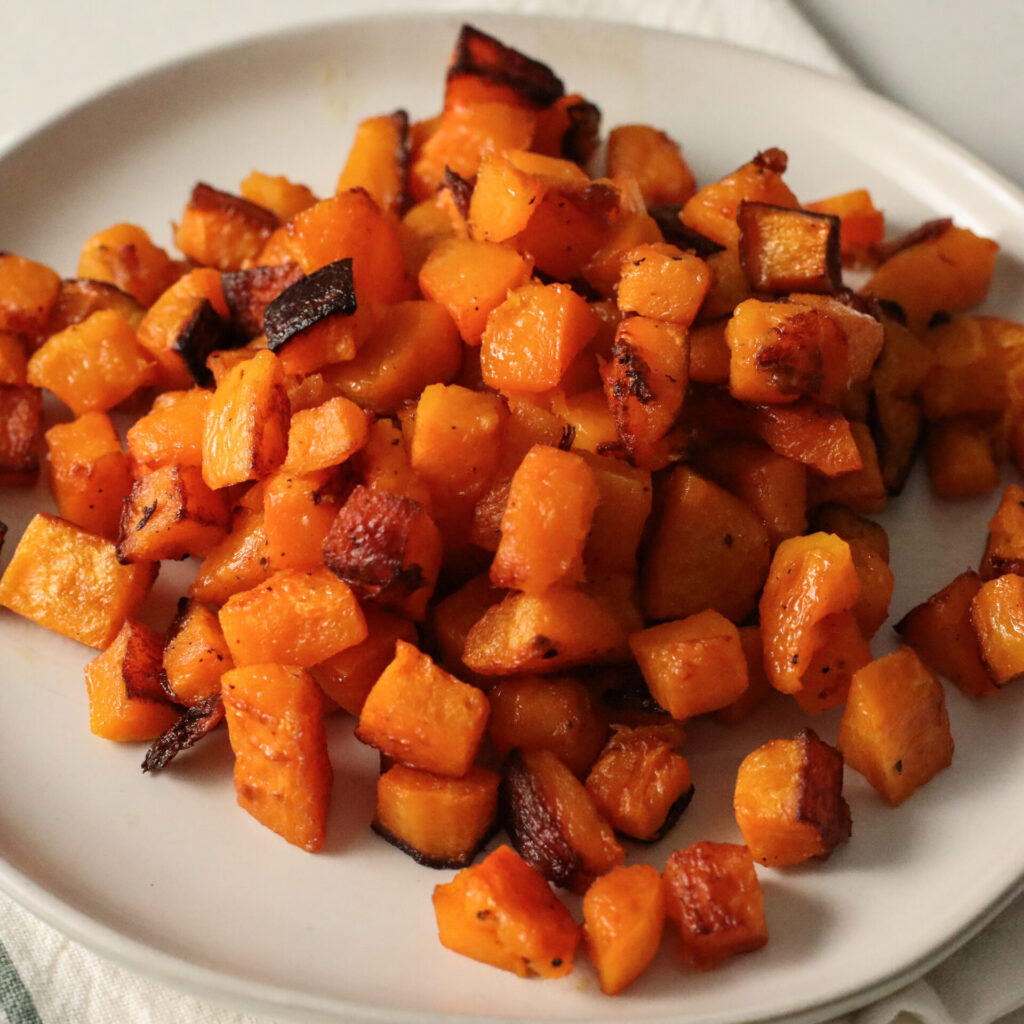
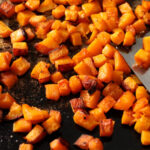
Perfectly caramelized cubes of butternut squash that are truly delicious enough to be eaten on their own as a simple side dish, or used as an ingredient for salads, or soups. The best way to cook butternut squash.
This post may contain affiliate links. Indigo Spring Home earns a small commission on these links at no cost to you.
Fall is in full swing around here. A season full of balancing work and the beginning of the school year with sports, activities, and events. My once-a-week go-to side dish is fast and sooooo good. Oh and did I mention healthy? Good and healthy…they don’t always go together, but when you roast butternut squash something magical happens. A kind of sweet and savory side that is full of good things like vitamin C that goes with just about any fall meal. Fresh butternut squash, cut into small cubes and roasted in the oven on high heat to become perfectly caramelized, and a little crispy. Toss it in a salad, blend it into soup, or just eat it as is, it’s good no matter how you serve it!
Why This Recipe Method Is the Best
Delicious – Roasting the squash in cubes is the best because you caramelize the most surface area and get the deepest flavor. These little bites are so good!
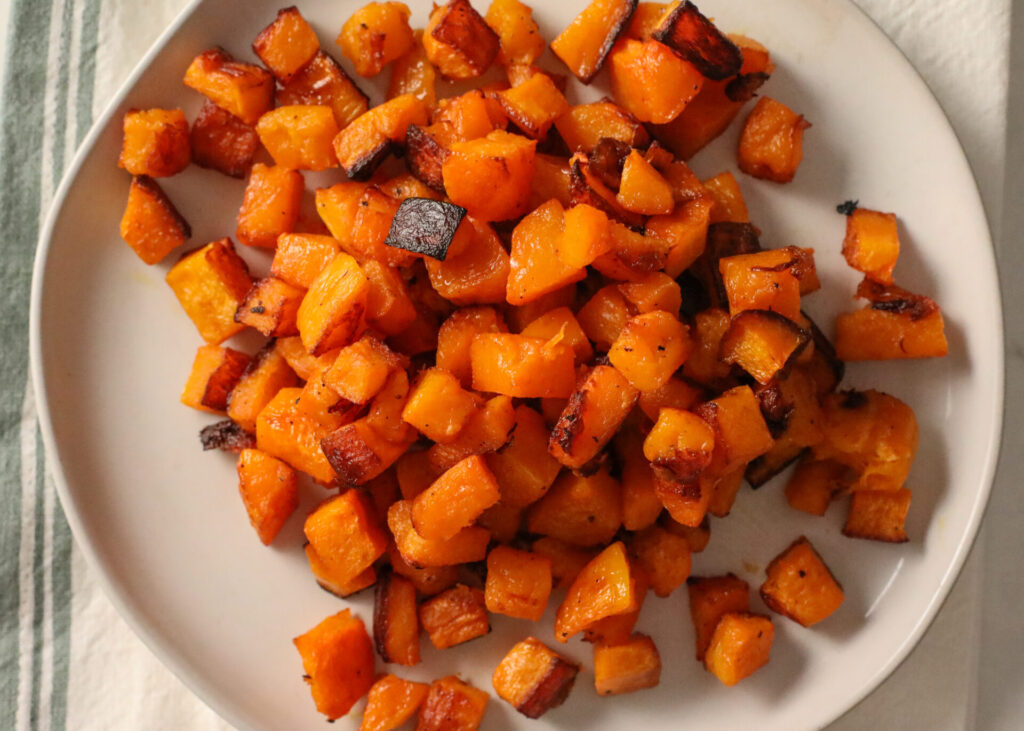
Caramelized but not burned – I share some tips below for how I get golden brown and caramelized edges but without burning or scorching. Using the right amount of oil is key.
Versitile – I’ll often roast big trays of this, then save some of the squash for an easy lunch prep or other recipes. There’s so much you can add this to like salads or soups.
Easily customizable – While you’re tossing the cubes of butternut squash with the oil, kosher salt, and black pepper, feel free to toss in whatever spices you’d like, such as ground cinnamon, or ginger. This really enhances the fall flavor. Or you could add rosemary and garlic or a little cayenne for spice.
Ingredients needed for Oven-Roasted Butternut Squash
- 1 Whole butternut squash
- a few tablespoons of olive oil
- 1-2 generous pinches of salt and pepper to taste
Yep, that’s it! 3 ingredients make up this healthy and delicious side dish that is perfect for any fall or winter meal!
Instructions for my Roasted Butternut Squash Recipe
- With a sharp knife on a cutting board, peel and seed the butternut squash and cut it into 1″ cubes. Make sure you have a sharp chef’s knife for this. You can cut the butternut squash cubes up to 3 days ahead, and keep them in the fridge for roasting later.
- Combine the cut cubes with the oil of your choice, (I use olive oil or avocado oil) salt, and black pepper. I don’t usually add other spices, but if you want to add any other seasonings like chili powder, cayenne pepper, garlic powder, or fresh herbs like rosemary, now is the time to do it.
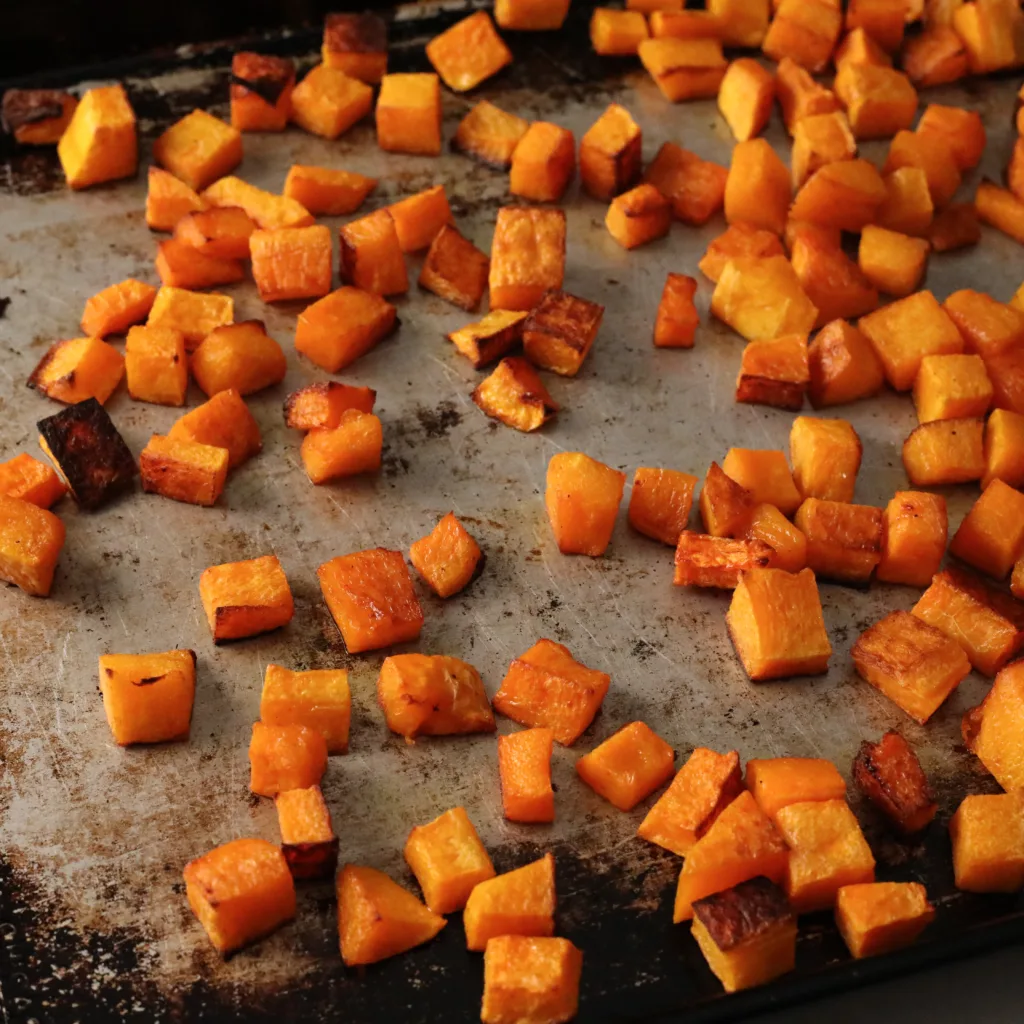
- Spread the pieces evenly on a baking sheet or in a roasting pan in a single layer, making sure they have a little space between them. That way they don’t steam each other, and have a chance to brown. For easier clean up you can line the baking sheet with parchment paper.
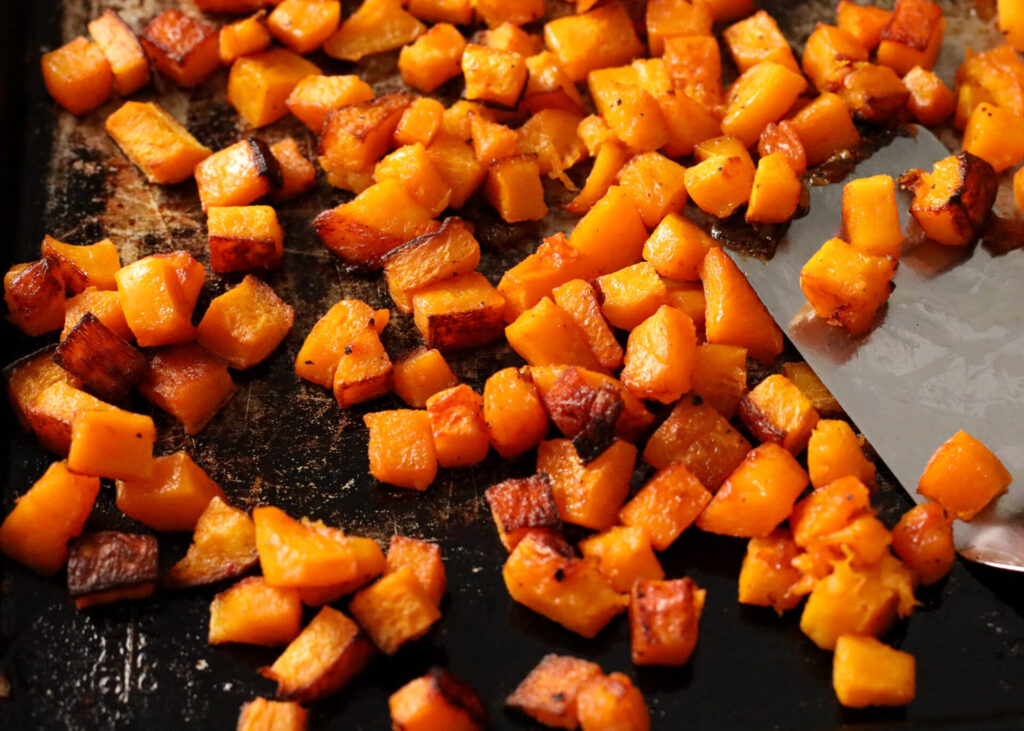
- Partway through baking, toss the pieces well and keep roasting in the hot oven until caramelized and soft. This is important for achieving perfectly caramelized vegetables that aren’t burned. Ovens tend to have hot spots, so this allows for more even cooking overall.
- The cooking time will depend on the size of your cut pieces and your oven. They are perfect when caramelized on the edges and fork tender, usually around 40 minutes.
FAQs
How long does leftover roasted butternut squash keep?
Store in an airtight container in the fridge for up to 5 days.
Can roasted butternut squash be frozen?
Yes, but know that the texture won’t be the same as fresh, and will only work well when pureed in recipes like soups or sauces.
Can you make roasted butternut squash ahead of time?
Yes, you can peel and cut the squash into the 1-inch cubes up to 1 day before. Store in the refrigerator in a freezer bag or an airtight container. Or, you can make the whole recipe and then later reheat the cubes in the microwave or oven.
Can you use pre-cut butternut squash for this recipe?
If it isn’t cooked or the frozen stuff, sure you can! Several grocery stores sell this now. Sometimes I will cut it into smaller pieces if the pieces are too big. But this is a great way to make this side dish a lot more convenient.
Printable Recipe Card
Delicious Roasted Butternut Squash | Simple Side Dish Recipe
Ingredients
- 1 whole butternut squash – the size of the squash will determine how much you will end up with
- 2-3 tablespoons of olive oil
- 1-2 generous pinches of salt and pepper to taste
Instructions
- With a sharp knife on a cutting board, peel and seed the butternut squash and cut it into 1″ cubes. Make sure you have a sharp chef’s knife for this. You can cut the butternut squash cubes up to 3 days ahead, and keep them in the fridge for roasting later.
- Combine the cut cubes with the oil of your choice, (I use olive oil or avocado oil) salt, and black pepper. I don’t usually add other spices, but if you want to add any other seasonings like chili powder, cayenne pepper, garlic powder, or fresh herbs like rosemary, now is the time to do it.
- Spread the pieces evenly on a baking sheet or in a roasting pan in a single layer, making sure they have a little space between them. That way they don’t steam each other, and have a chance to brown. For easier clean up you can line the baking sheet with parchment paper.
- Partway through baking, toss the pieces well and keep roasting in the hot oven until caramelized and soft. This is important for achieving perfectly caramelized vegetables that aren’t burned. Ovens tend to have hot spots, so this allows for more even cooking overall.
- The cooking time will depend on the size of your cut pieces and your oven. They are perfect when caramelized on the edges and fork tender, usually around 40 minutes.