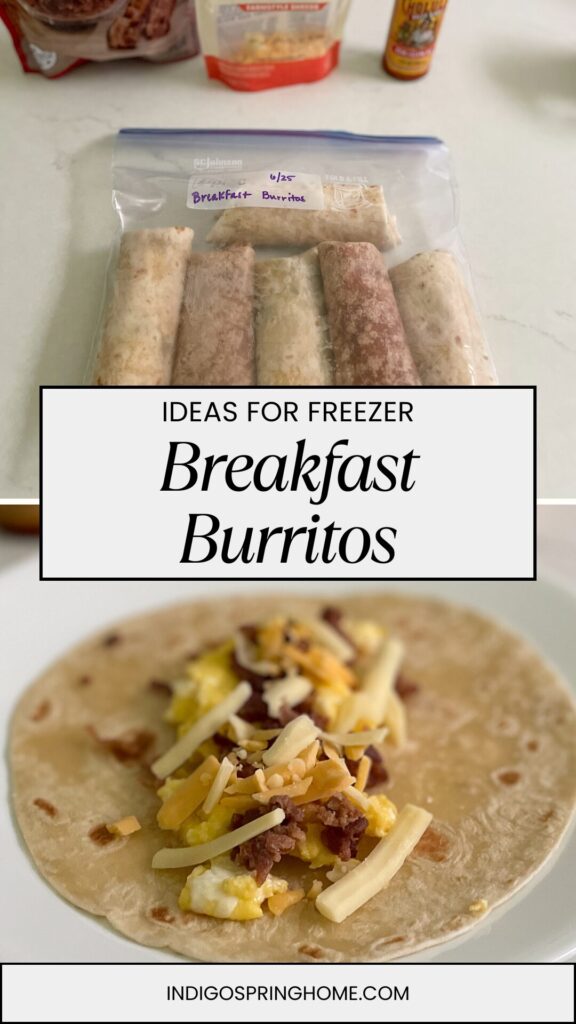
Easy Make-Ahead Freezer Recipe-Breakfast Burritos
A step-by-step guide for making easy, customizable make-ahead freezer breakfast burritos that are perfect for busy mornings. Learn how to prepare, freeze, and reheat these delicious breakfast options for a stress-free hot breakfast to start to your day.

This post may contain affiliate links. Indigo Spring Home earns a small commission on these links at no cost to you.
Easy Make-Ahead Freezer Recipe: Breakfast Burritos
Life can get busy, and mornings are often the most hectic part of the day. Between getting ready for work, preparing kids for school, or simply trying to wake up, making a healthy and satisfying breakfast can feel impossible. That’s where make-ahead freezer breakfast burritos can help! Not only are they delicious and customizable, but they’re also incredibly convenient to make a big batch, freeze, and then just heat and eat!
In this post, I’ll walk you through everything you need to know to make these easy breakfast burritos, freeze them for later, and enjoy a stress-free morning.

Why Make-Ahead Breakfast Burritos?
There are plenty of reasons to love freezer-friendly breakfast burritos:
- Time-Saving: With a batch of these ready to go, you’ll save precious time in the morning.
- Budget-Friendly: Making your own breakfast burritos is much cheaper than buying fast food or pre-packaged options.
- Customizable: You can easily tailor the fillings to your preferences or dietary needs.
- Healthy: Control the ingredients to ensure a balanced and nutritious meal.
- Meal Prep Win: Cook once and enjoy multiple meals throughout the week or month.
Ingredients You’ll Need:
Here are the basic ingredients for a classic breakfast burrito, but feel free to get creative:
- Large flour tortilla: These are sturdy and hold up well in the freezer. For best results, use flour tortillas instead of corn.
- Eggs: A staple for breakfast burritos, scrambled to perfection. You could also use scrambled egg whites.
- Cheese: Cheddar cheese, Monterey Jack, or a Mexican blend work beautifully.
- Protein: Choose from cooked bacon, ham, turkey bacon, breakfast sausage, chorizo, turkey sausage, or even plant-based sausage.
- Vegetables: Bell pepper, onions, spinach, and mushrooms add flavor and nutrition. Just make sure they are sautéed ahead of time to soften them and reduce the moisture.
- Hash browns or potatoes: Crispy potatoes give the burritos extra heartiness. You could use sweet potatoes too, if you prefer. Tater Tots work well too!
- Seasonings: Salt, pepper, and your favorite spices.
- Optional Toppings: Salsa, avocado slices, green chiles, or hot sauce for serving.
Step-by-Step Instructions
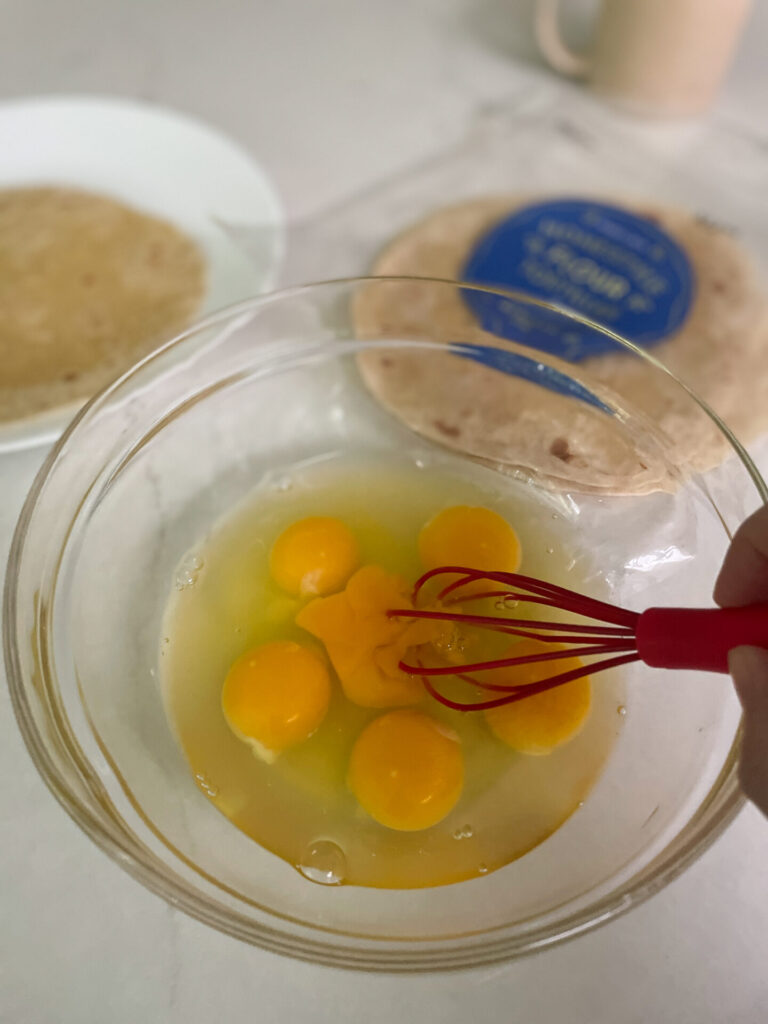
1. Cook the Ingredients
- Eggs: Whisk the eggs in a bowl, season with salt and pepper, and cook over medium heat in a nonstick skillet until scrambled. Set aside.
- Protein: Cook your choice of breakfast meat until fully done. Drain excess grease and set aside.
- Vegetables: Sauté the veggies in a little oil until tender. Season as desired.
- Potatoes: If using hash browns or diced potatoes, cook them until golden and crispy.
2. Assemble the Burritos
- Lay a tortilla flat on a clean surface.
- Add a scoop of scrambled eggs, followed by your choice of protein, veggies, potatoes, and a sprinkle of cheese.
- Be careful not to overfill the burrito, as this makes wrapping difficult.
- Fold in the sides of the tortilla, then roll it up tightly from the bottom to form a secure burrito.
- Once you get the hang of it, you can get an assembly line going and make several burritos at once.

3. Wrap for Freezing
- Place each burrito on a sheet of foil, plastic wrap, or parchment paper.
- Wrap it tightly, ensuring there are no gaps where freezer air can sneak in.
- Place the wrapped burritos in a resealable freezer bag. If you are going to eat the burritos in less than two weeks, just roll them and place them in the ziplock bag.
- Label the bag with the date and contents.
4. Freezing Instructions:
- Prepare the Burritos – Cook and assemble your burritos, letting any hot ingredients cool to room temperature before wrapping. This prevents sogginess.
- Store in a Freezer Bag – Place the wrapped burritos in a large zip-top freezer bag or airtight container. Label with the date.
- Freeze – Lay them flat in the freezer. They’ll keep well for up to 3 months.
5. Reheat and Serve
Microwave (Quickest Method)
- Remove foil or plastic wrap.
- Wrap the frozen burrito in a damp paper towel (prevents dryness).
- Microwave on 50% power for 2–3 minutes, flipping halfway.
- Then, heat on full power for 30-second intervals until hot.
Oven or Toaster Oven (Best for Crispiness)
- Keep the burrito wrapped in aluminum foil.
- Bake at 350°F (175°C) for 30–40 minutes until heated through.
Air Fryer (Crispy & Fast Option)
- Unwrap and place in the air fryer at 350°F for 10–12 minutes.
- Flip halfway for even heating.
Stovetop (Crispy & Golden Brown)
- Thaw Option (Recommended for Even Heating): Let the burrito thaw in the fridge overnight.
- Unwrap and place the burrito seam-side down in a preheated skillet over medium heat. If frozen, cover the pan with a lid to help it heat through.
- Cook for 3–5 minutes per side, flipping occasionally, until the outside is golden brown and the filling is heated through.
- For extra crispiness, add a small amount of butter or oil to the pan before cooking.
Tips for Success
- Don’t Overfill: Less is more when it comes to stuffing burritos. This ensures they stay intact during wrapping and reheating.
- Cool Ingredients: Let the fillings cool slightly before assembling to prevent soggy tortillas.
- Use Sturdy Tortillas: Thin tortillas can tear easily, so choose ones designed for burritos.
- Seal Well: Proper wrapping is essential to prevent freezer burn.
- Label Clearly: Write the date and type of burrito on the bag to keep things organized.
Burrito Filling Variations
While the classic combination of eggs, cheese, and bacon is a winner, here are some fun variations to try:
- Veggie Lovers: Eggs, spinach, bell peppers, onions, mushrooms, and cheese. Just make sure they are sauteed ahead of time to soften them and reduce the moisture.
- Southwest: Eggs, chorizo, black beans, corn, and pepper jack cheese.
- Mediterranean: Eggs, sundried tomatoes, spinach, olives, and crumbled feta.
- Vegan Delight: Scrambled tofu, black beans, veggies, and dairy-free cheese.
- Spicy Kick: Eggs, hot sausage, jalapeños, and extra-hot cheese.
Frequently Asked Questions (FAQs)
1. Can I use corn tortillas instead of flour tortillas?
Corn tortillas tend to be more fragile and can crack when frozen. If you prefer them, consider freezing the ingredients separately and using fresh corn tortillas when you are ready to eat. Heat them slightly before assembling them to make them more pliable.
2. How long do these breakfast burritos last in the freezer?
They’ll stay fresh for up to 3 months if properly wrapped and stored.
3. Can I skip the potatoes?
Absolutely! Potatoes add heartiness, but the burritos will still be delicious without them.
4. What’s the best way to prevent soggy burritos?
Let the fillings cool before assembling and ensure a tight wrap to keep out moisture.
5. Can I make these burritos gluten-free?
Yes, simply use gluten-free tortillas.
Serving Suggestions
Savory Sides
- Hash Browns or Home Fries – Crispy potatoes are a classic breakfast pairing.
- Fresh Salsa or Pico de Gallo – Adds freshness and acidity to balance the burrito.
- Guacamole or Sliced Avocado – Creamy and delicious with eggs and tortillas
Lighter, Fresh Sides
- Fruit Salad – A refreshing contrast to the hearty burrito.
- Greek Yogurt with Honey & Granola – Adds a creamy, slightly sweet balance.
- Sliced Tomatoes & Cucumbers – A simple, crisp side for freshness.
Make-ahead freezer breakfast burritos are a game-changer for busy mornings. With endless customization options and simple preparation, you can enjoy a hot, hearty breakfast even on your busiest days. Try this easy recipe and watch how much smoother your mornings become!
PIN THIS RECIPE –>